
To make this project, you will need:
- Cloud Solid 12×12 Cardstock
- White Solid 12×12 Cardstock
- Sorbet Paper Pack
- Sorbet Stickers
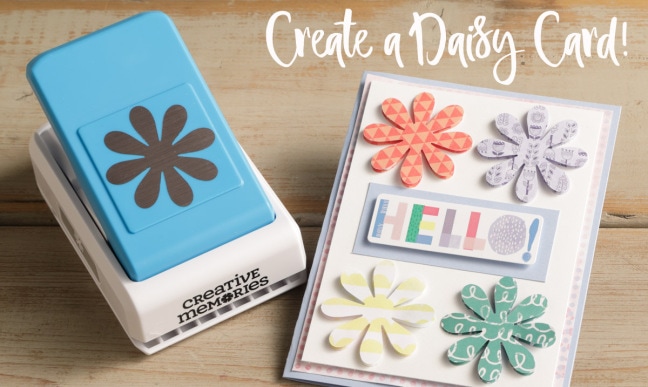
- Daisy Punch
- 12-Inch Straight Trimmer
- Foam Squares
- Tape Runner
- Use the 12-Inch Straight Trimmer to cut a piece of the Cloud Cardstock to 5 ½” wide x 8 ½” long. Fold it in half to create the card base.
- Select a piece of designer print paper from the Sorbet Paper Pack and cut it to 4” wide x 5 ¼” long. Then, use the Tape Runner to apply adhesive to the back of the designer print paper and adhere it to the front of the card base.
- Cut a piece of White Cardstock to 3 ¾” wide x 5” long. Adhere this to the top of the previous designer print paper on the front of the card.
- Using the Daisy Punch, punch 2 flowers from each colored paper in the Sorbet Paper Pack. Lay the flowers out where you want them and adhere them to the front of the card using the Repositionable Adhesive.
- To give the flowers dimension, add the second flower of the same color on top of the previous flower using Foam Squares.
- Cut a piece from the Cloud Cardstock to 1 ¼” wide x 3” long. This is where we are going to place the “Hello” Sorbet Sticker. Adhere this piece to the front of the card using your Tape Runner.
- Take the “Hello” sticker from the Sorbet Stickers collection and put Foam Squares behind it. Then, add it to the top of the Cloud Cardstock to complete your handmade card.
 RSS Feed