Here is the process I went through to plan out the wall of canvases.
- Take a photo of the wall you want to put the collage on.
- Measure the height and width of the wall.
- Determine where the collage should fit on that wall and mark down those measurements.
- Create a new project in Artisan 6 with a custom size that matches the measurements you took; converting from feet to inches. (i.e. my wall was 18 ft. 11 in. wide & I converted to 19 in. in width for the project).
- Optional: Turn on grid lines (View>Settings>Guides)
- Mark the space where you want to place the collage with ruler tabs
- Create rectangles to represent each size the canvases come in. Insert>Content>Shapes>Rectangle. I formatted the shapes to show text inside.
- Design your own layout or get ideas online (Pinterest) and place the canvas placeholders within the space available until you are happy with the layout.
- Group all shapes in the layout. Make a copy and center on the original group. Hide one group and lock it.
- Ungroup extra set Hide text: Right Click>Text>Format>Do not show any text.
- Change each shape into a photo opening. Right Click>Fill>Convert to a photo drop point.
- Look through your photos to find a group of photos that you would like to use and add them to the project.
- Play around with the photos in your wall collage layout until you are happy with how it looks.
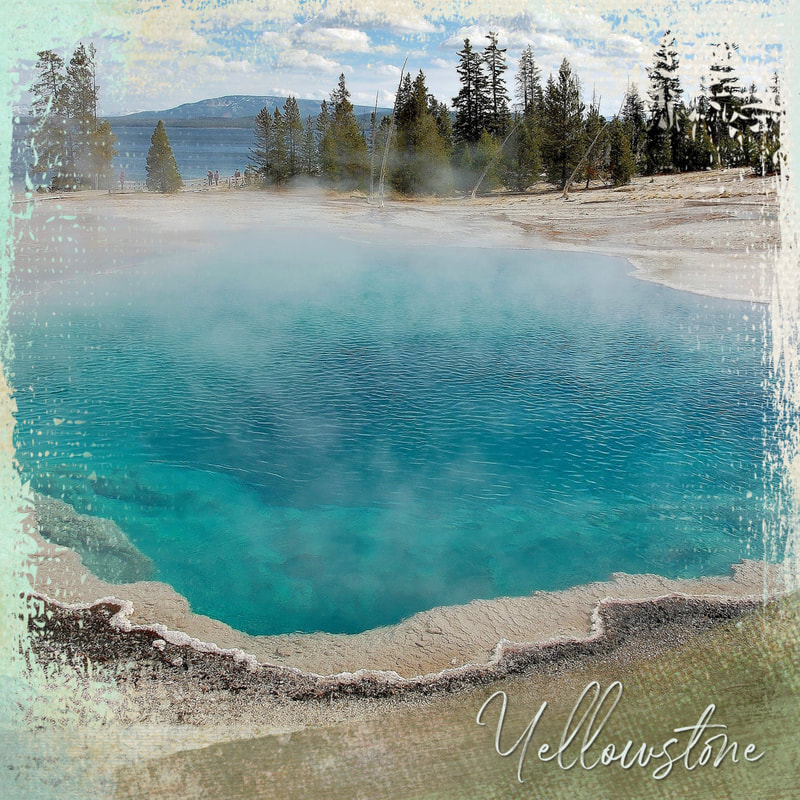
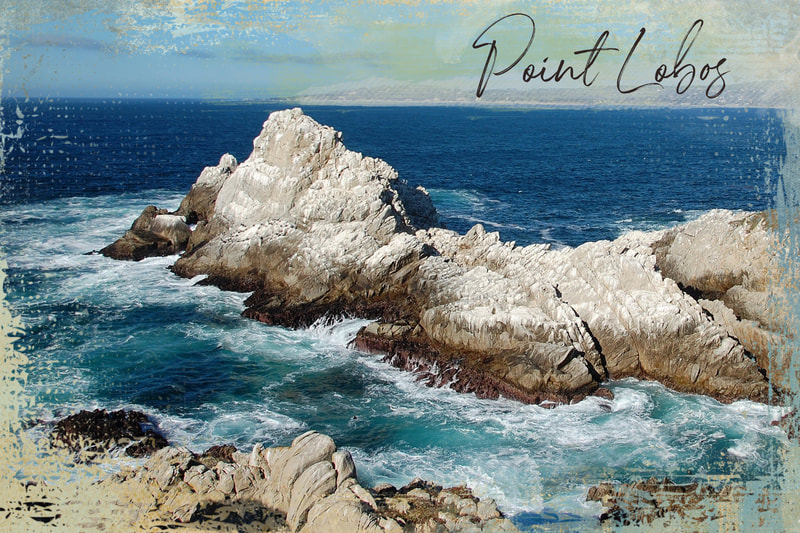
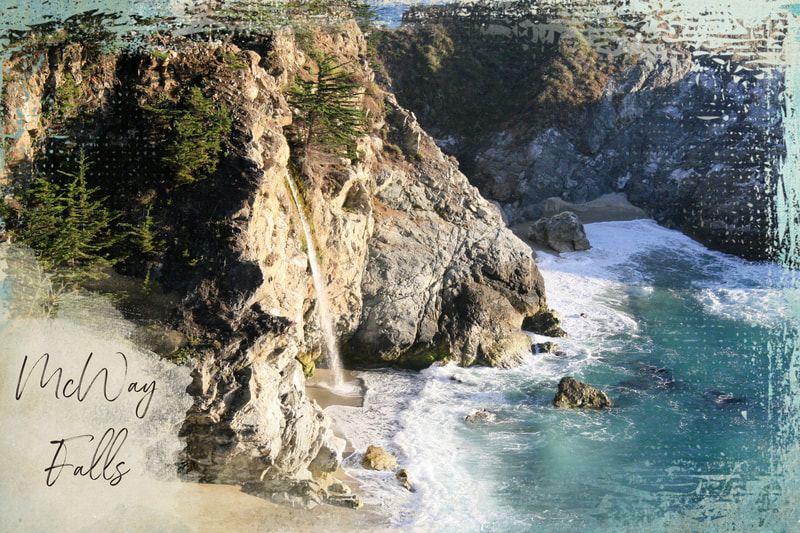
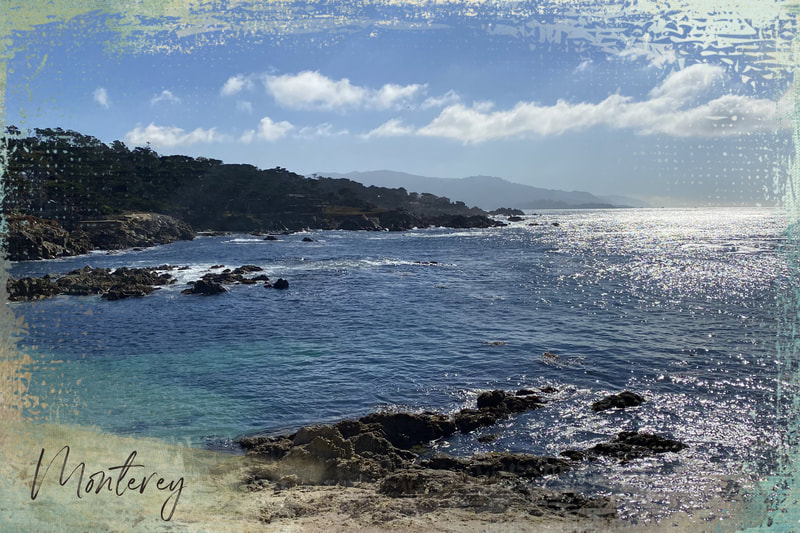
- Now you will create a canvas for each part of the collage. I replaced the photos with an image of the canvas so I could see how they will look together.







 RSS Feed