Key Takeaways
- Update graphics driver as soon as the update is available
- Document what you use on pages using Notepad app.
- Upload completed pages after completion so you don't have to redo the work unnecessarily.
Recently I was working on a project in Artisan 6 and I noticed that my work wasn't displaying correctly in the workspace. I could see the preview in the Pages tab on the right of the workspace and it looked correct, but on the page itself it was wrong. 
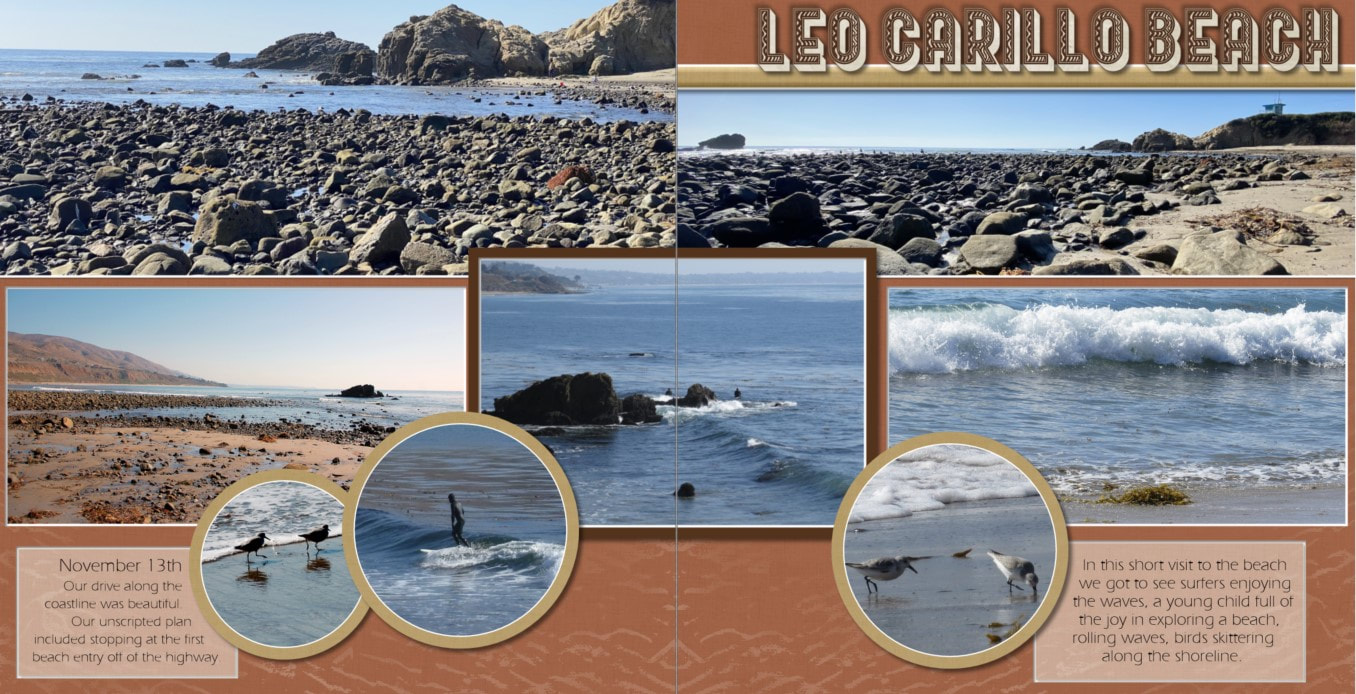
This is the completed page. The messed up page 
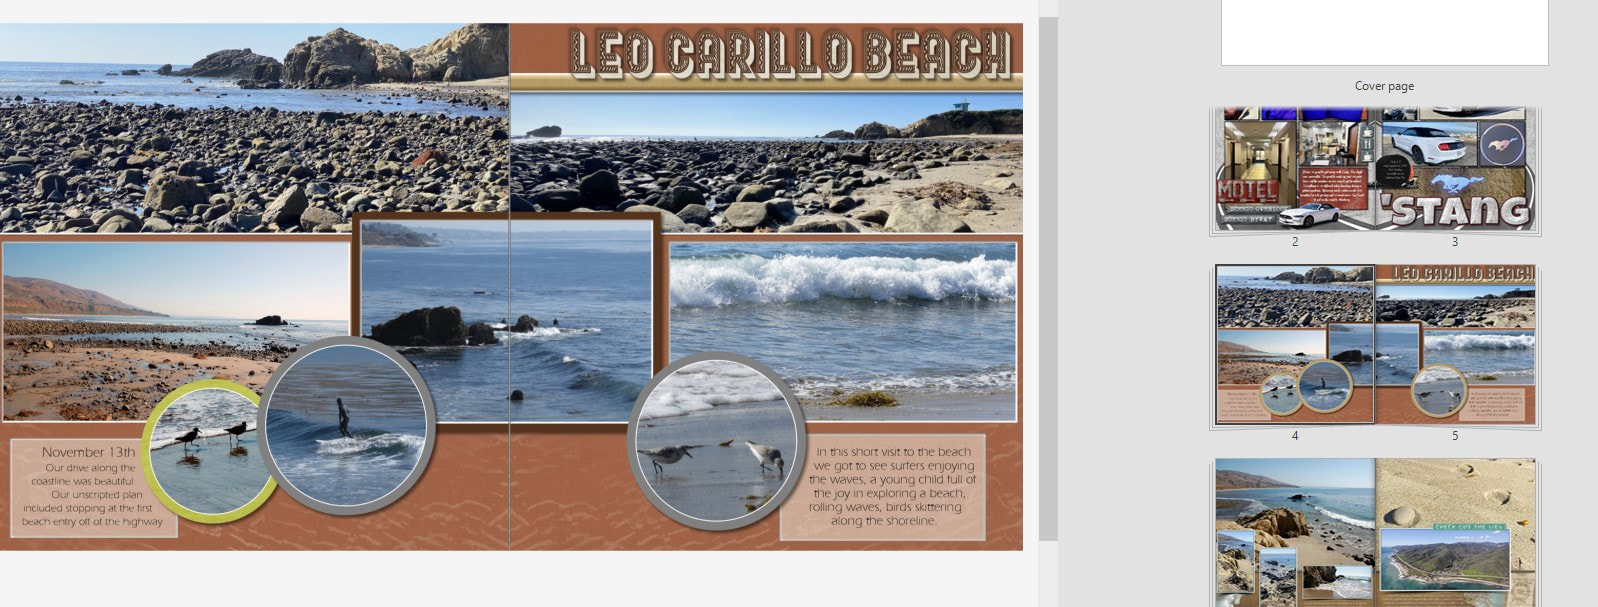
Notice in the pages panel on the right that it looks different (how it should look). I contacted support and they sent me a link for troubleshooting tips and one of the suggestions was to make sure your graphics driver was up to date as well as Windows. So, it was the graphics card for me that was not up to date. However, I hadn't taken the time to read the email and address the issue and the page got messed up again. Grrr...
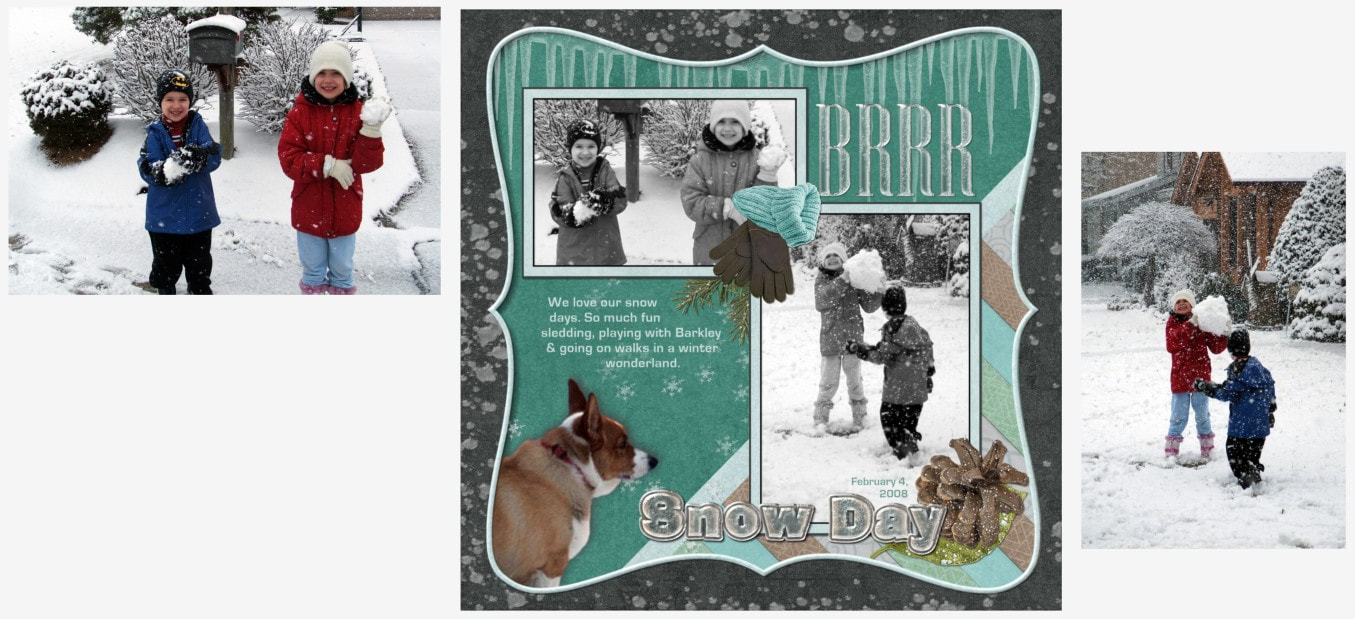
 Messed up again Luckily I have been using the tip shared by Pixie Jan McCallum to keep a notepad file for my project and I upload all my pages as jpgs as well as two page snips. So, I could just check my notes and fix the page. But I am glad to have my driver up to date so I don't have to do that again. Key Takeaways
0 Comments
During my recent Historian 4 Beginner Class, I mentioned during our week 3 discussion on editing image that I typically don't convert images to black and white or sepia in Historian. I usually wait until I am on the page and use it as a way to add drama to a page. Sample using SepiaSample using Black & WhiteYou can see the full color pictures below. The black and white was definitely the better choice for the page. Barkley's (the corgi) coloring actually coordinating well with the decorative elements I was using, so I kept him full color. I used remove.bg to cut him out quickly and create room for my story.
Whenever you purchase a pre-designed page layout, you get more than just the template. You also get all the the decorative elements in the template. Let's take a look at an example. I am working on a project about my life's story. I purchased a template: Stories of Our Life Layered Template 07 by Katie Pertiet. https://www.forever.com/products/stories-of-our-life-layered-template-07 I added the template to a project. I created a personal art kit in Artisan 6: Stories of my Life Elements. Katie Pertiet has many of these templates. So, I plan to add to this personal art kit as I go. Since there are so many elements on the page, I work in the Elements Panel starting at the top and working my way down. Right click on first element (skipping text boxes and photo frames). Select Save selection: Save image to a personal art kit. Click box that you acknowledge it is part of a copyrighted kit and that you plan to only use for personal use. In the next pop up, navigate to your newly created personal art kit, set item type to Embellishment and then name the item. By the time I was done there were multiples of the same item type, it was helpful for me to have the personal art kit open in another window (outside of Artisan in Windows Explorer). This way I could know if I was saving Frame #2 or #3. :) As I work down the Elements Panel, I clicked on the eye to hide the elements I had already saved and I locked them as well. Once the page is blank (after last item hidden), you are done! Enjoy the bonus 40 elements you gained. Then you can add them to a page opposite the template and now they coordinate!
|
AuthorI've loved photography all my life. Have been making photo albums since high school. I love helping people do something memorable with their photos. Have so much fun planning workshops for people to get together and work on their photo projects, share stories and fellowship. Looking forward to making this even easier with new products that will make it a snap to finish. Archives
May 2024
Categories
All
|